
DIY Hardscaping Projects: What You Need to Know Before You Start


Understanding Hardscaping
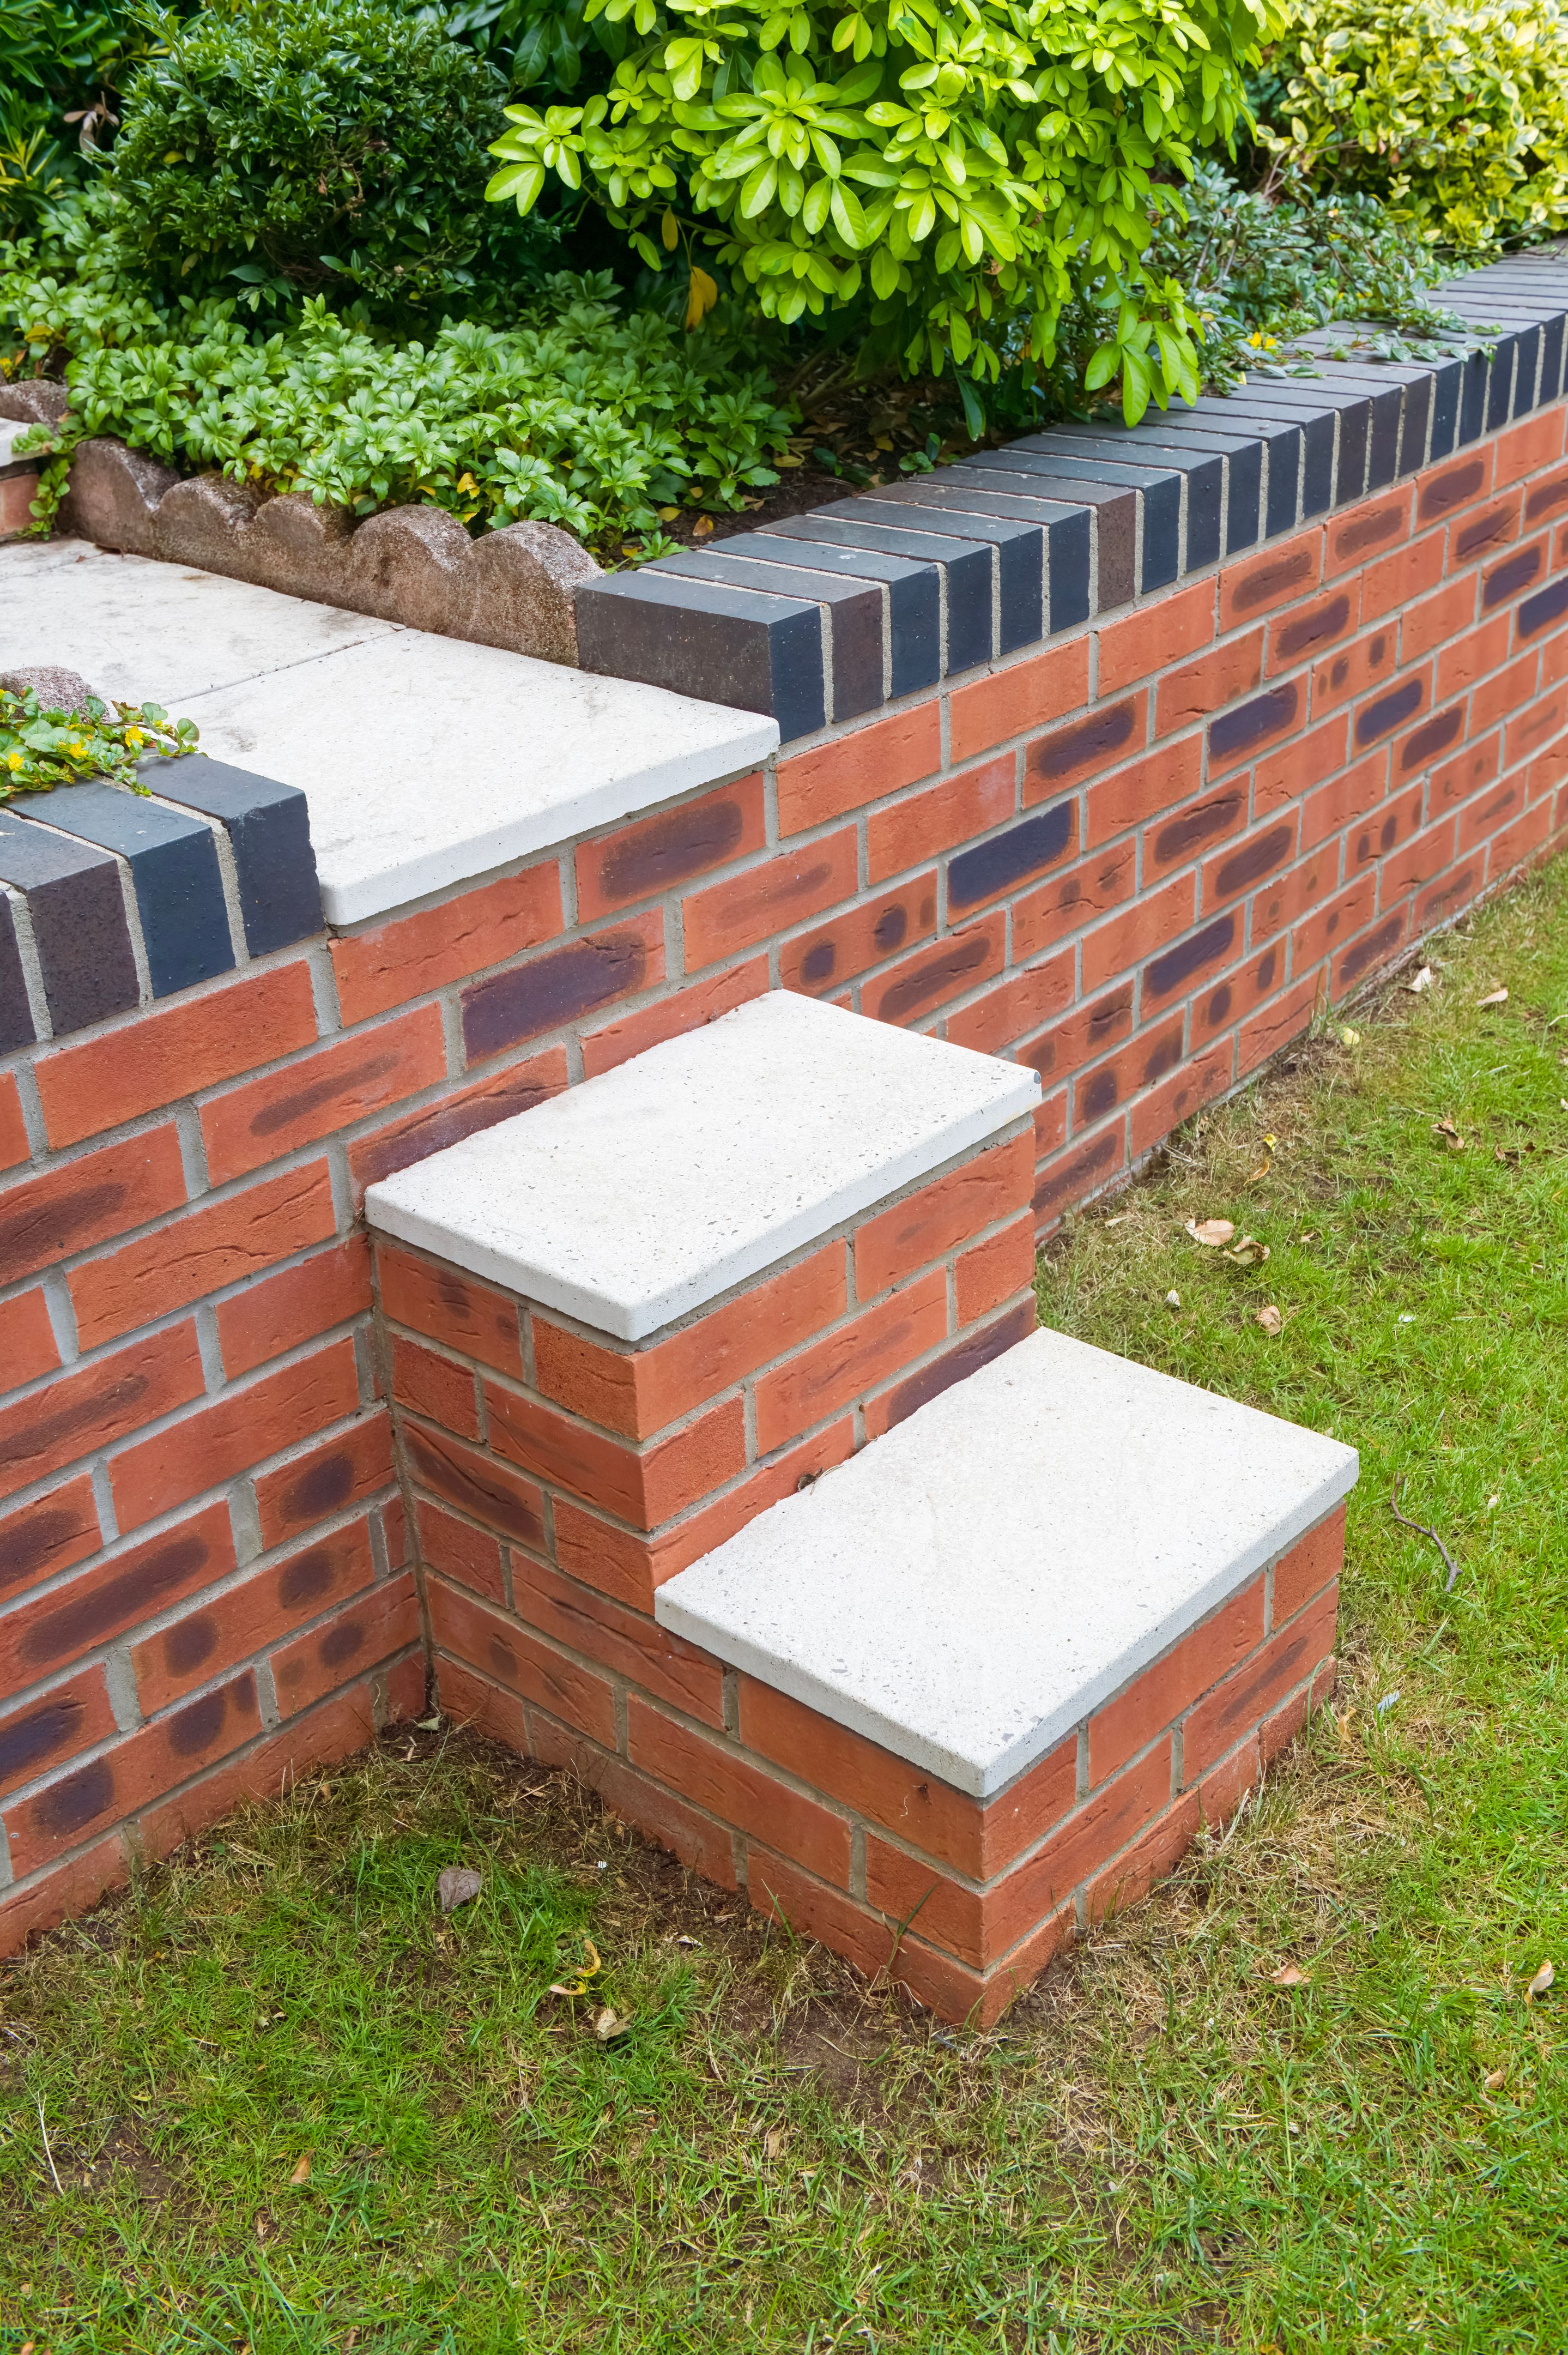
Hardscaping refers to the non-living elements of landscaping, such as stone pathways, patios, retaining walls, and other structures. Unlike plants and flowers, these elements are permanent and can drastically change the look and feel of your outdoor space. Before embarking on a DIY hardscaping project, it's crucial to understand the basics and plan carefully to ensure success.
Planning Your Project
The first step in any successful hardscaping project is proper planning. Consider the purpose of your project—are you looking to create a functional space for entertaining, or are you aiming to add aesthetic value to your home? Once you have a clear vision, sketch a layout of your desired design, taking into account the size and shape of your yard.
Budgeting and Material Selection
Setting a budget is vital. Hardscaping materials can vary significantly in cost, so it's essential to select materials that align with your financial plan. Popular options include brick, stone, concrete, and wood. Each material has its own set of pros and cons, so research is key to making the right decision.
Gathering the Right Tools
Having the appropriate tools on hand can make or break your DIY hardscaping project. Basic tools you'll likely need include:
- Shovels
- Wheelbarrows
- Levels
- Tape measures
- Compactors
Investing in high-quality tools will not only save you time but also ensure a more polished finish.
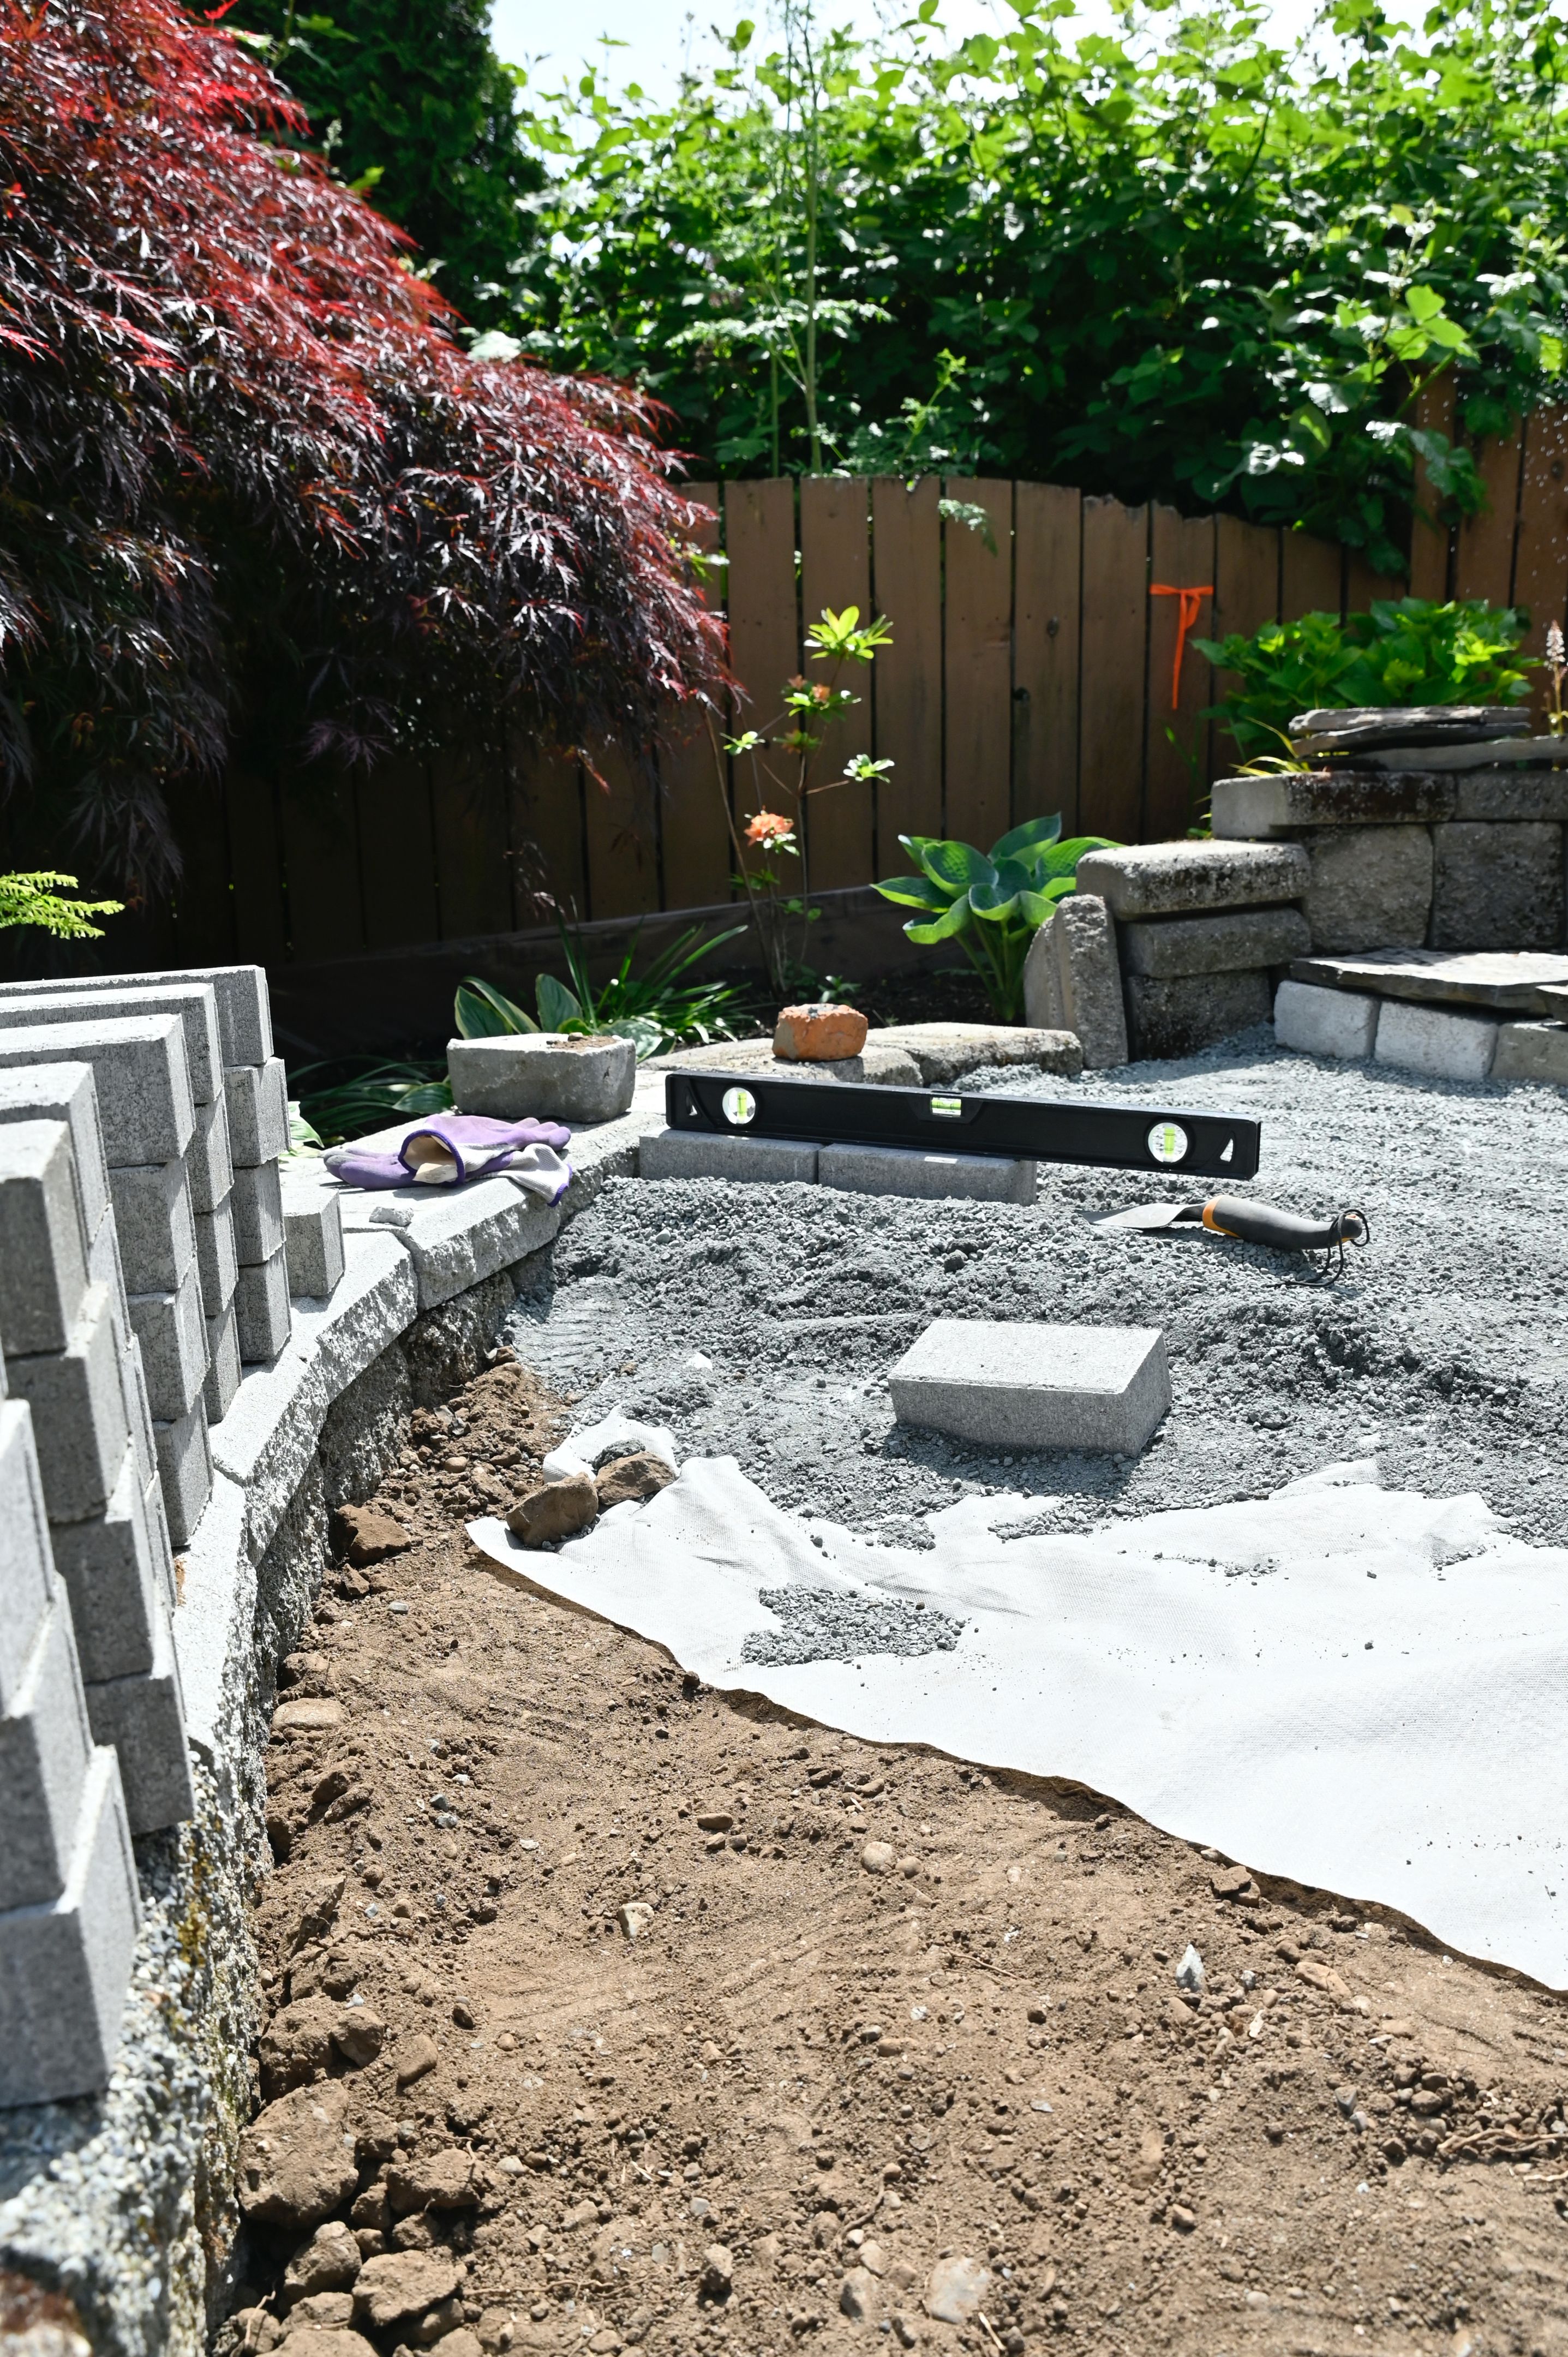
Site Preparation
Before laying any materials, it's crucial to prepare the site properly. This involves clearing debris and leveling the ground. In some cases, you'll need to dig out areas for foundations or drainage systems. Proper preparation ensures stability and longevity for your hardscaping features.
Drainage Considerations
Ignoring drainage can lead to water pooling and damage over time. Ensure you incorporate drainage solutions such as gravel layers or sloping surfaces to redirect water away from your structures. This step is particularly important if you're building retaining walls or patios.
Installation Tips and Tricks
The installation process will vary depending on the materials and complexity of your design. Here are some general tips:
- Start with the largest elements first, such as patios or pathways.
- Use a level frequently to ensure even surfaces.
- Compact the base layers thoroughly to prevent shifting.
Taking your time during installation will pay off in the long run with a durable and attractive final product.
Finishing Touches
Once the main structures are in place, it's time to add finishing touches. This could involve filling joints with sand or planting greenery around stone pathways for a softer look. These small details can enhance the overall appearance of your hardscaping project.
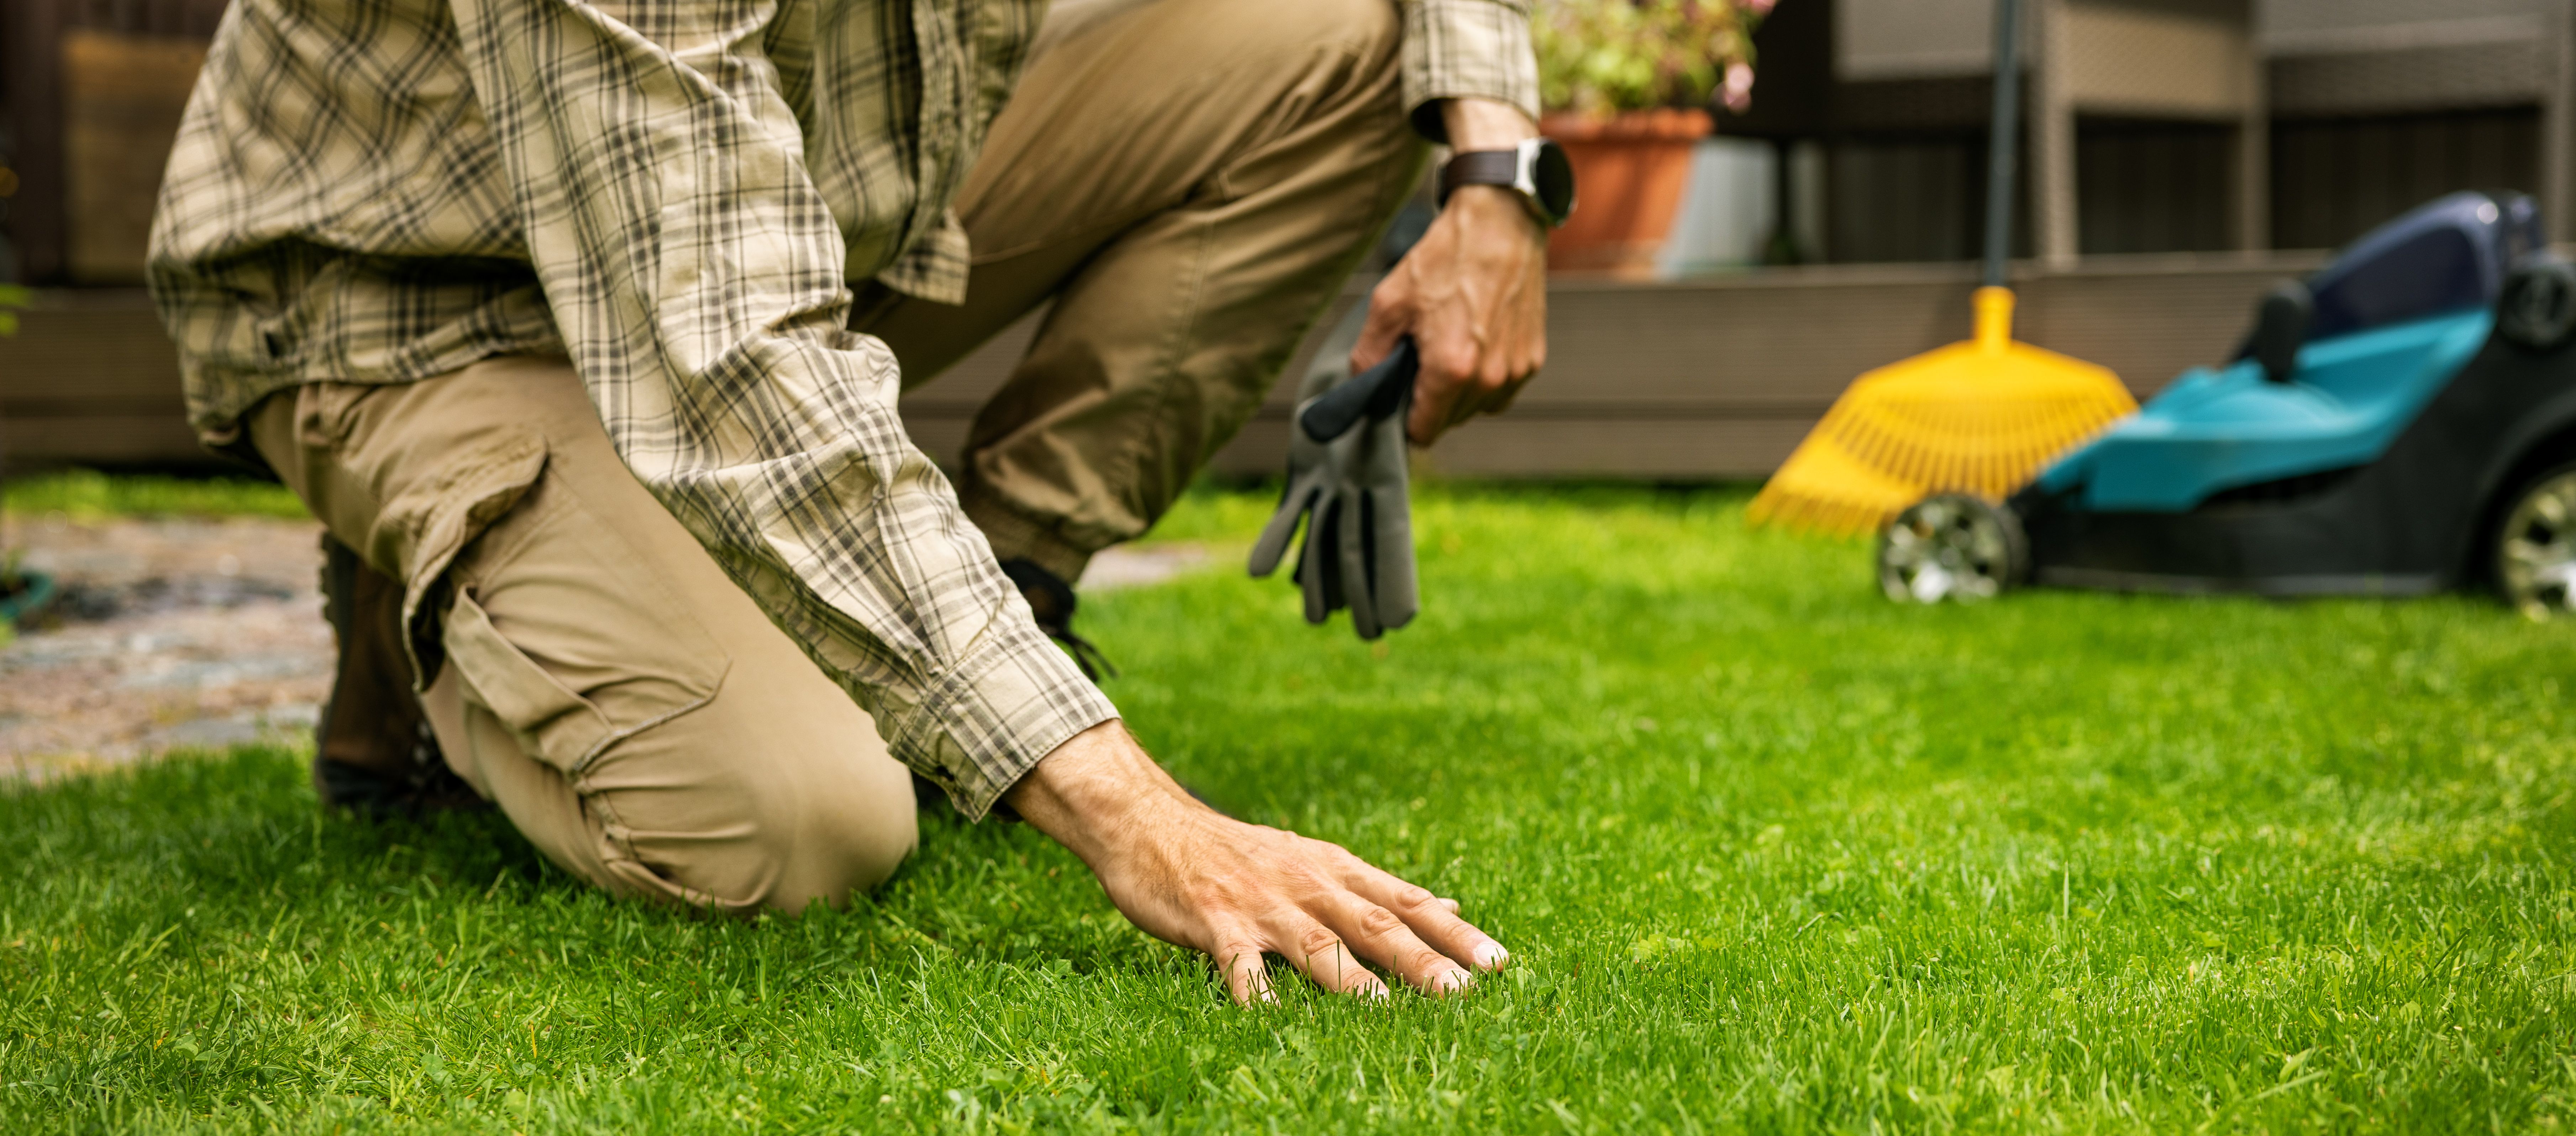
Maintenance and Care
While hardscaping requires less maintenance than traditional landscaping, regular care is still necessary. Keep surfaces clean and free of debris, and inspect for any damage periodically. Addressing small issues promptly can prevent more significant problems down the line.
Embarking on a DIY hardscaping project can be a rewarding experience that adds value to your home. With careful planning and execution, you can transform your outdoor space into a functional and beautiful retreat. Remember, patience and attention to detail are your best allies in achieving a successful outcome.